
Adults should supervise all art & craft play activities at all times. Some materials used in these activities are small and can pose a choking hazard to toddlers. Please ensure your child’s safety by closely monitoring their play.
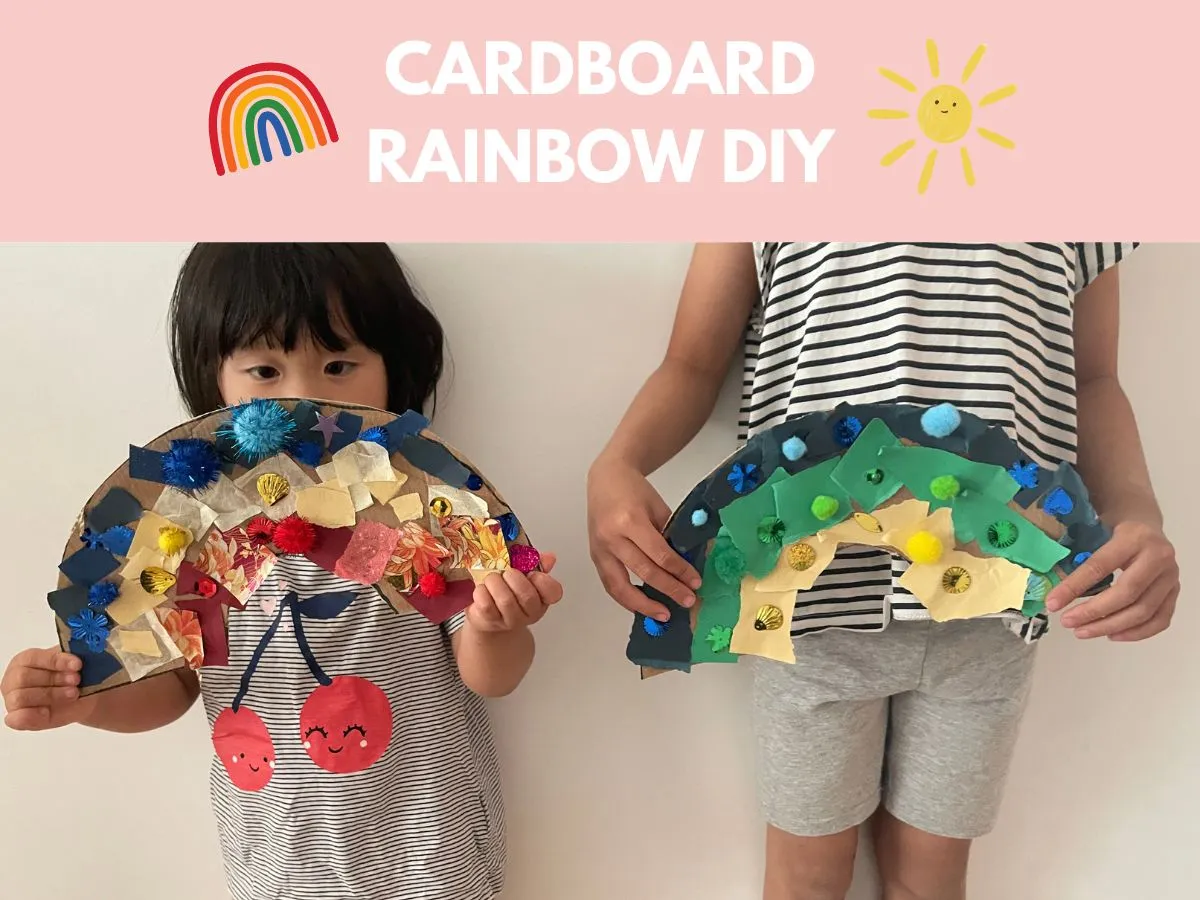
We always have tons of recycled cardboard lying around the house. Most of the time, we try to make the most use of these cardboard pieces. This DIY is simple to do, and it will turn this cardboard into a colorful decoration for your little one’s space.

What will you need?
-Recycled cardboard (from delivery boxes, pizza boxes, etc.)
-Some colored cardstocks – this pack includes 100 sheets in many colors.
For Safety, I recommend using these Fiskars scissors. They’re designed with blunt edges, making them safe for young kids. This way, you can feel reassured while your child enjoys the craft.
-Scrap papers (any scraps or recycled paper)
So let’s get making!
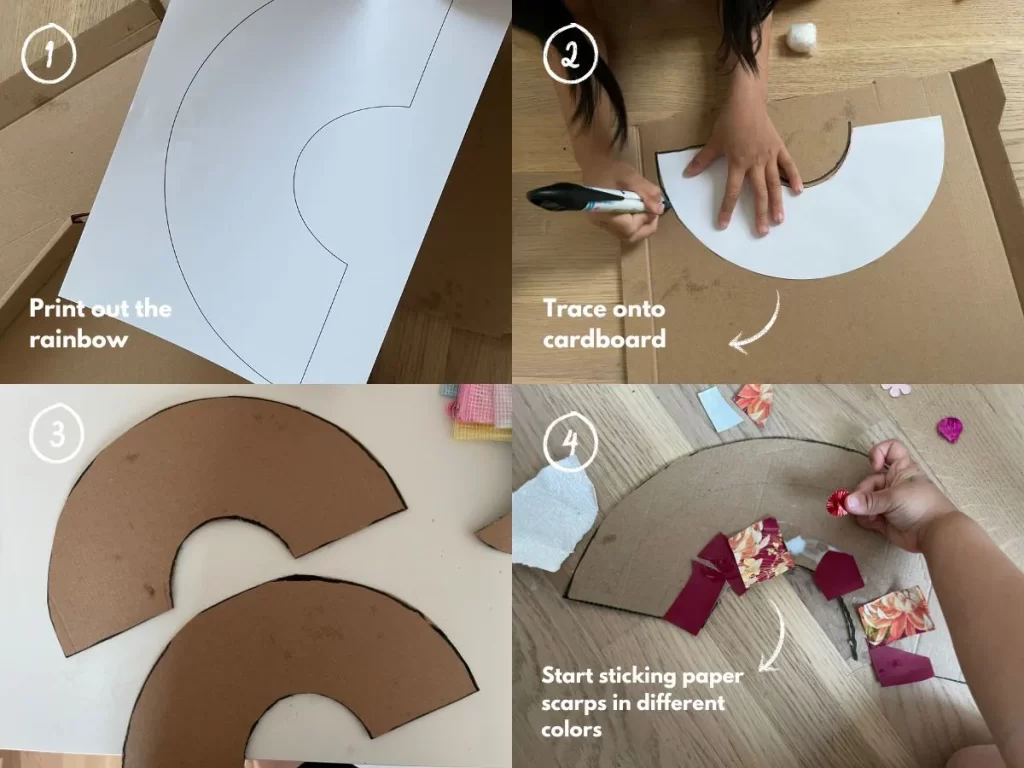
- Print out a rainbow shape online to trace or hand-draw them onto the cardboard.
- Use an exacto knife or scissors to cut out the traced/drawn rainbow shape (an adult should help with this step as an exacto knife can be sharp)
3. Split the rainbow into 3-4 parts with a pencil.
4. Guide your little ones to stick scrap pieces of paper along each rainbow section. If necessary, break the scrap paper into different sizes so gluing them is more fun and interactive.
Here are a few tips:
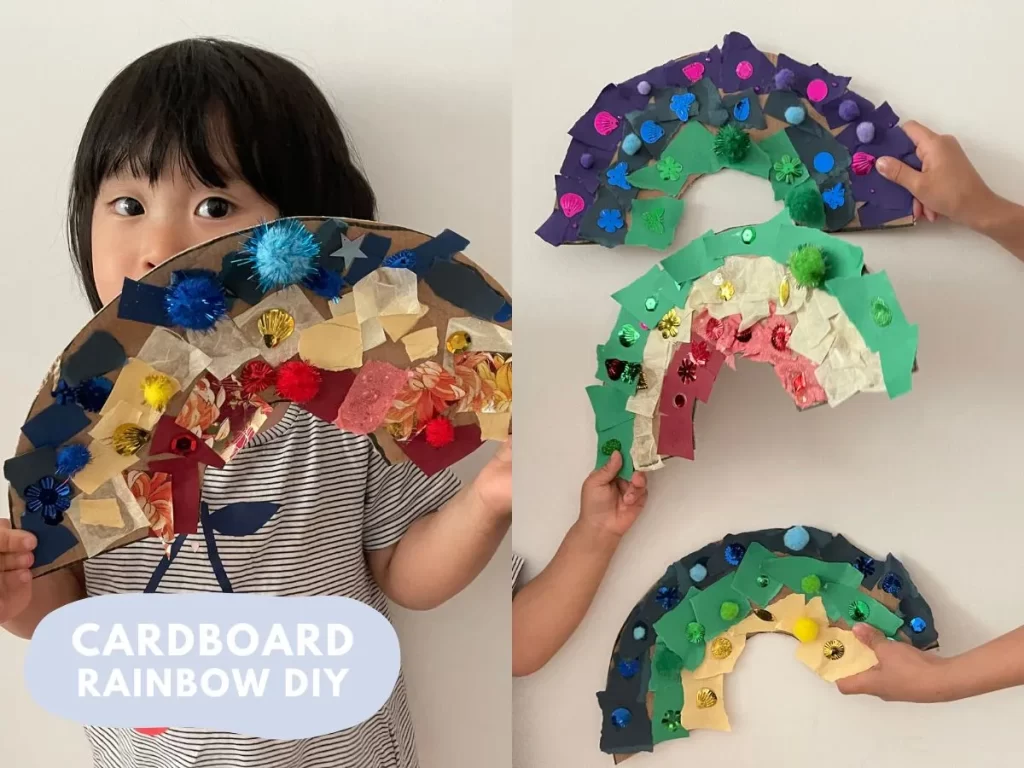
Guide your kid to follow the sections to improve hand-eye coordination. Suggest your little ones pick scrap paper pieces with the same colors or tones. This will enable your little ones to learn more about color palettes.
If you enjoy this post, you may like :
- How to make this easy Paper Octopus with your kids!
- How to Make a Travel Binder for Your Toddler
- How to Make the Perfect Toddler Morning Basket
Some links on this blog may contain affiliate sources. If you click and purchase through these links, I earn a small commission at no extra cost. Thank you for supporting my blog!